.png?width=246&height=70&name=Kinetech%20PM%20246%20x%2070%20(1).png)

I was recently asked about Mendix in the context of Edge computing; that is where an application exists close to a data source as opposed to on a centralized application server. Commonly this is known as IoT. Because the edge device is running an application that is able to collect data directly (or very nearly) from the source of the data, benefits include improved response times, faster insights and improved bandwidth availability.
The concept and value of these kinds of deployments is not foreign to me. I have created my own embedded devices in the past using Raspberry Pi SBCs (single board computers), but those are strictly in Python and mostly using computer vision (something I have a great interest in). Therefore, I set myself a challenge:
- to learn if it was possible to deploy Mendix at the edge
- and if possible, to try to do it myself and create a temperature and humidity sensor application for my greenhouse
Do A Little Digging
My first instinct was to check the Mendix documentation, and sure enough, there was information on deployment for Edge devices, but in reading it seemed to require that Siemens Industrial Edge was used, which I do not have access to. For all intents and purposes it seemed like my journey was already at an end, that is until I came across a MendixLabs Github repository (link) from a couple of years ago that suggested it would be possible without Industrial Edge. Emboldened, I gathered some components and pressed on.
The Github had a pretty good outline of what steps I should take and the hardware that was used. To summarize, this was what I ended up needing from both a software and hardware perspective:
- Balena.IO (used to manage and deploy services to my device)
- Raspberry Pi (I had a v4 4GB that was unused)
- Temperature + Humidity sensor (to collect some meaningful data via the Raspberry Pi)
- Mendix Cloud Foundry Buildpack (the Github repository)
- Eclipse Mosquitto (this is a MQTT server, so I would be able to collect sensor data and send it here, just like a real-world IoT device)
Go Make It
The Mendix application was built for simplicity to perform only a single task: retrieve the temperature and humidity from the sensor over the GPIO pins on the Raspberry Pi. To interface and receive the sensor values I made use of the Pi4J Java library, creating Java actions to read values from the pins I had chosen for the sensor.
Sensor readings are sent to a topic on the Mosquitto server via MQTT. I then made the application subscribe to the same topic so that the application could show a timeseries of recent temperature and humidity readings on the homepage when accessed.
Build + Deploy
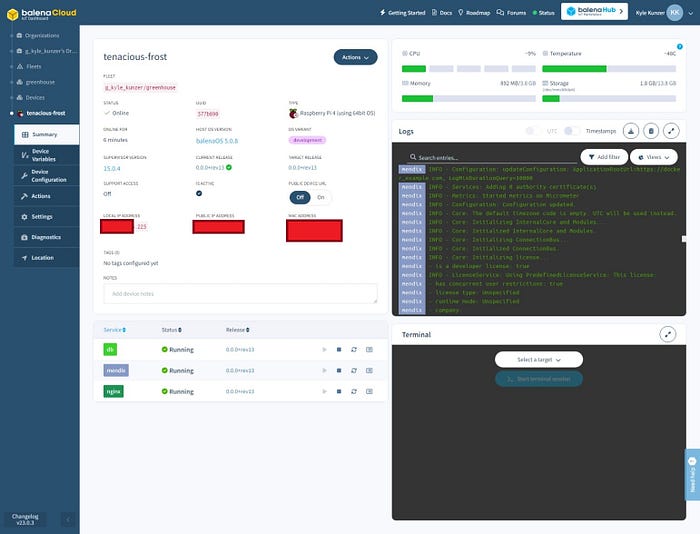
Deploying the Mendix application onto the Raspberry Pi cannot be done using the methods we are most used to. This is where the instructions in the Github repository really helped. By following the instructions, I downloaded the repository to my computer, added Balena as a remote to the local repository, created a local deployment package for my app, updated the docker-compose file to configure runtime settings for my app and pushed the updated repository to Balena. Balena would then package AND deploy directly to the devices I had in the linked IoT fleet; in my case this is just the single Raspberry Pi, but I could easily add more now and have the same package deployed in minutes to them. I cannot recommend using a service like Balena enough if any readers want to try this themselves.
Along the way there were some hurdles to overcome. The Github repository was a couple of years old, and the configuration it has suggests that it was created pre-Mendix 8 (it was still using Java 8, not 11 like we have been using for a while now with Mendix). Some updates and revisions were needed to make it compatible with more recent versions of the Mendix runtime, as well as updates for other deployed services as well.
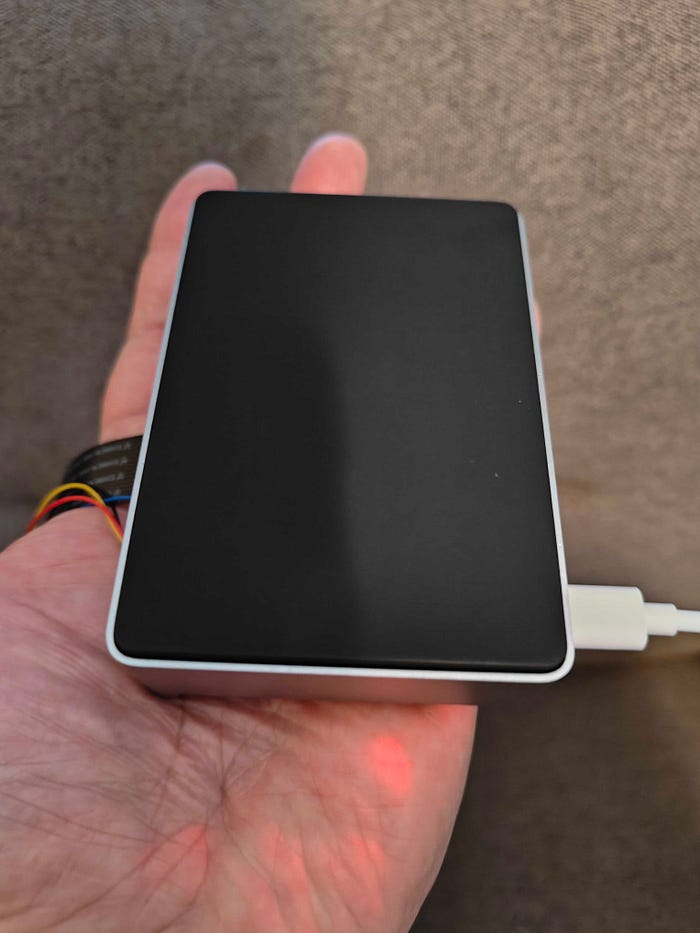
All in all, the process was not very difficult with the exception of having to figure out the correct revisions to make. The end result is a Mendix application that quite literally runs in the palm of my hand, and is supported by PostgreSQL and a web server, all on that one small device.
This was a very fun side project to experiment with and I was very pleased with how it all came together. I plan to expand on the application to really push the limits of what this little device can handle in terms of a larger, more complex application. The door is clearly ajar for this type of deployment, so I am curious (and hopeful) for what may come in the future regarding Mendix deployment on the edge.
To any readers that are interested in trying this and have questions, feel free to reach out to me at kyle.kunzer@kinetechcloud.com. I’d love to hear from you!
This blog post was originally by Kyle Kunzer on Medium and can be read here.